How to check that your rims and tires are tubeless ready?
First, check the rims and tyres on your bike to ensure the tyres and rims are 100 % tubeless-ready. Do not trust bike specifications on the website because, as the producers say, “Specifications can change without previous warning.”
So, how do you recognize that you are tubeless-ready? Check the sticker on the rim and markings on the tyre, and look for “Tubeless ready” words. Not all brands use these exact words; they can be written, e. g. “TR”, “TRL”, “2Bliss”, “UST”, etc. But if you find any of these, you can start making your wheels tubeless-ready.
Prepare your rim and instal rim tape
Remove the original tape from the rim after you strip down your tyre and tube. But be careful – some rims fit with the factory's tubeless rim tape. If this is your case, you can skip this step. Just check if the original rim tape is not damaged. And how do you find that your rim is equipped with tubeless tape from the factory? The tape covers the inner width of the rim, ends a few centimetres after the valve, and tightly covers the rim shape.
After removing the original tape, the best thing you can do is degrease the rim surface. For this purpose, use Peaty’s Disc Brake Cleaner (400 ml or 750 ml package). Spray the Cleaner on the clean rug or paper towel and clean the rim surface.
How to install the rim tape
After carefully cleaning the rim, you can install new rim tape. Depending on the rim's internal width, the tape is offered in various widths. If your rim tape is a little bit wider than the rim (e.g., the inner width of the rim is 25 mm, and your rim tape is 27 mm wide), it is no problem. But in the opposite case, we do not recommend to use it.
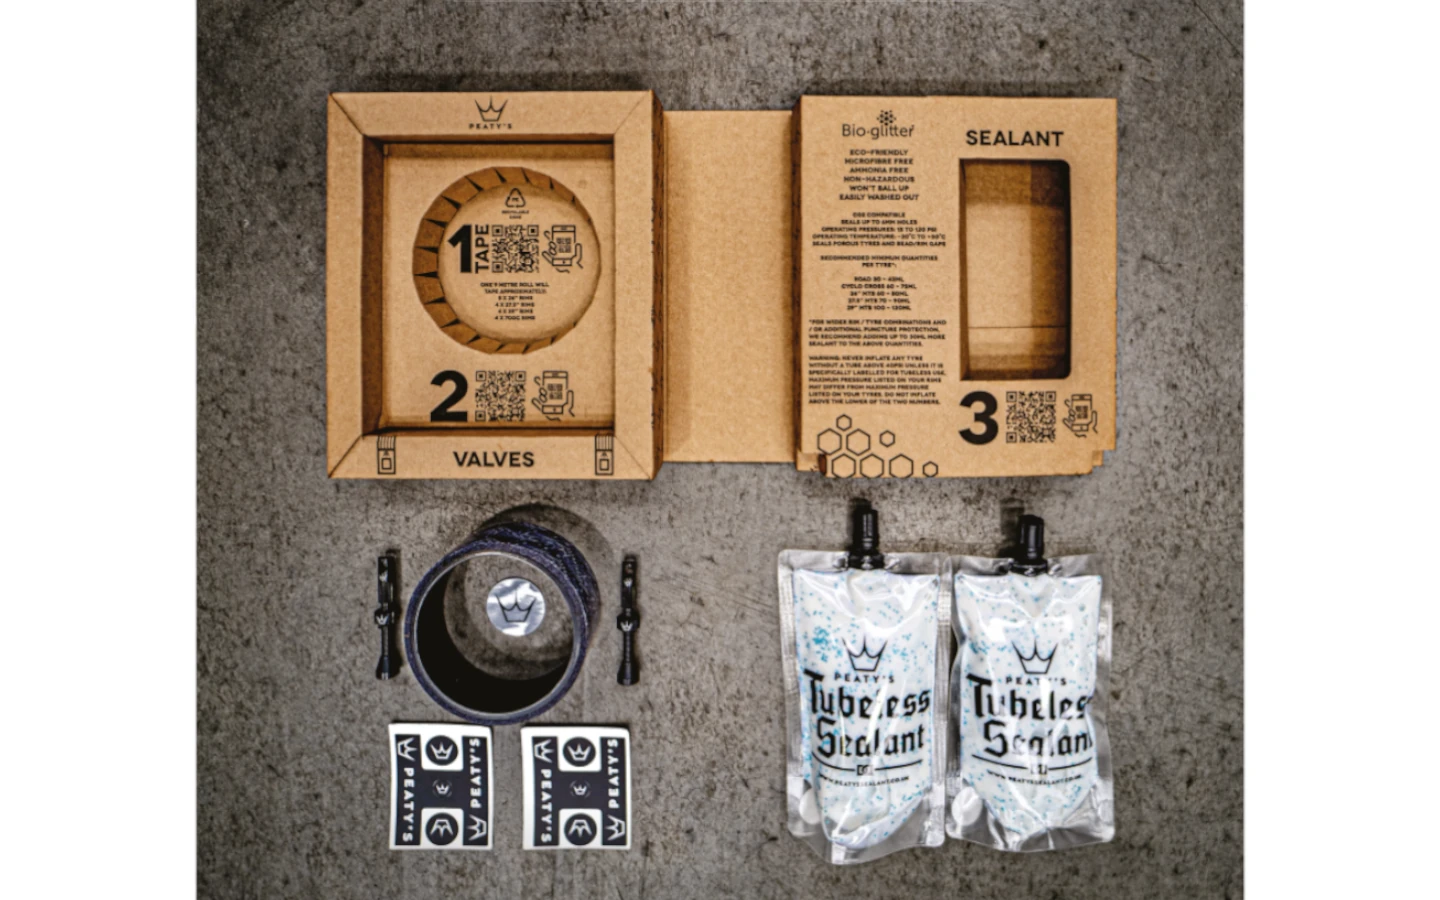
Peaty’s offers rim tapes in 9 m rolls, which is enough for two 29” wheelsets. Peaty’s offers 4 different tape widths – 21 mm, 25 mm, 30 mm and 35 mm- which cover all cycling disciplines, from road to downhill.
Start installing your new rim tape approximately 10 cm before the valve hole and install tape towards it. Tap the tape tightly to the middle of the rim and smooth it out towards the rim walls. Make sure you get out all the air bubbles. Keep continuing the same around the whole rim. The end of the should be approximately 10 cm behind the valve hole. We recommend using a heat gun to activate the rim tape glue for better results.
Peaty’s x Chris King valve as a piece of art
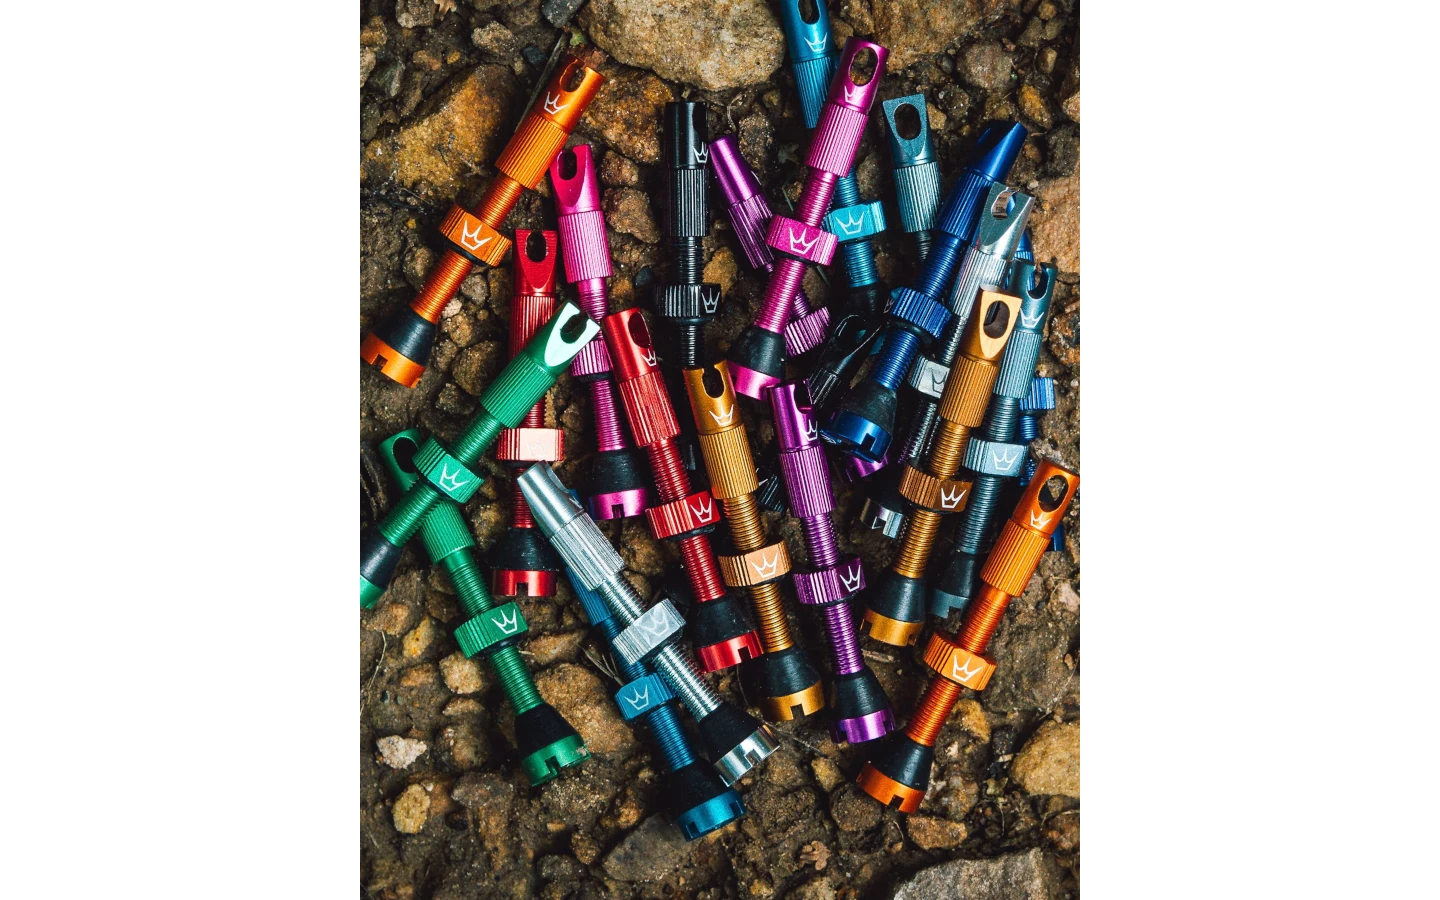
Peaty’s valves, made in cooperation with legendary Chris King, offer quite a big advantage for its users. Thanks to channels on the bottom of the valve body, which make a cross, you can also use these valves with still more popular tyre inserts. Peaty’s valve caps also work as “on-bike tools” - one valve cap works as a spoke wrench for standard nipples, and the other works as a valve core remover. Peaty’s tubeless valves are offered in three lengths – 42 mm, 60 mm or 80 mm. And each length is available in 15 different colours!
How do you fit the new valve correctly? After you install rim tape, use a sharp pick to make a new hole for the valve. Clean the edges of the hole with the sharpie to ensure the new valve fits correctly and tightly on the edge of the rim. And the process of installation is simple. Remove the valve cap, lock nut and O-ring, fit the valve body through the hole in the rim, fit the O-ring, lock nut and valve cap, and you are done.
Pour the sealant and you are ready to go
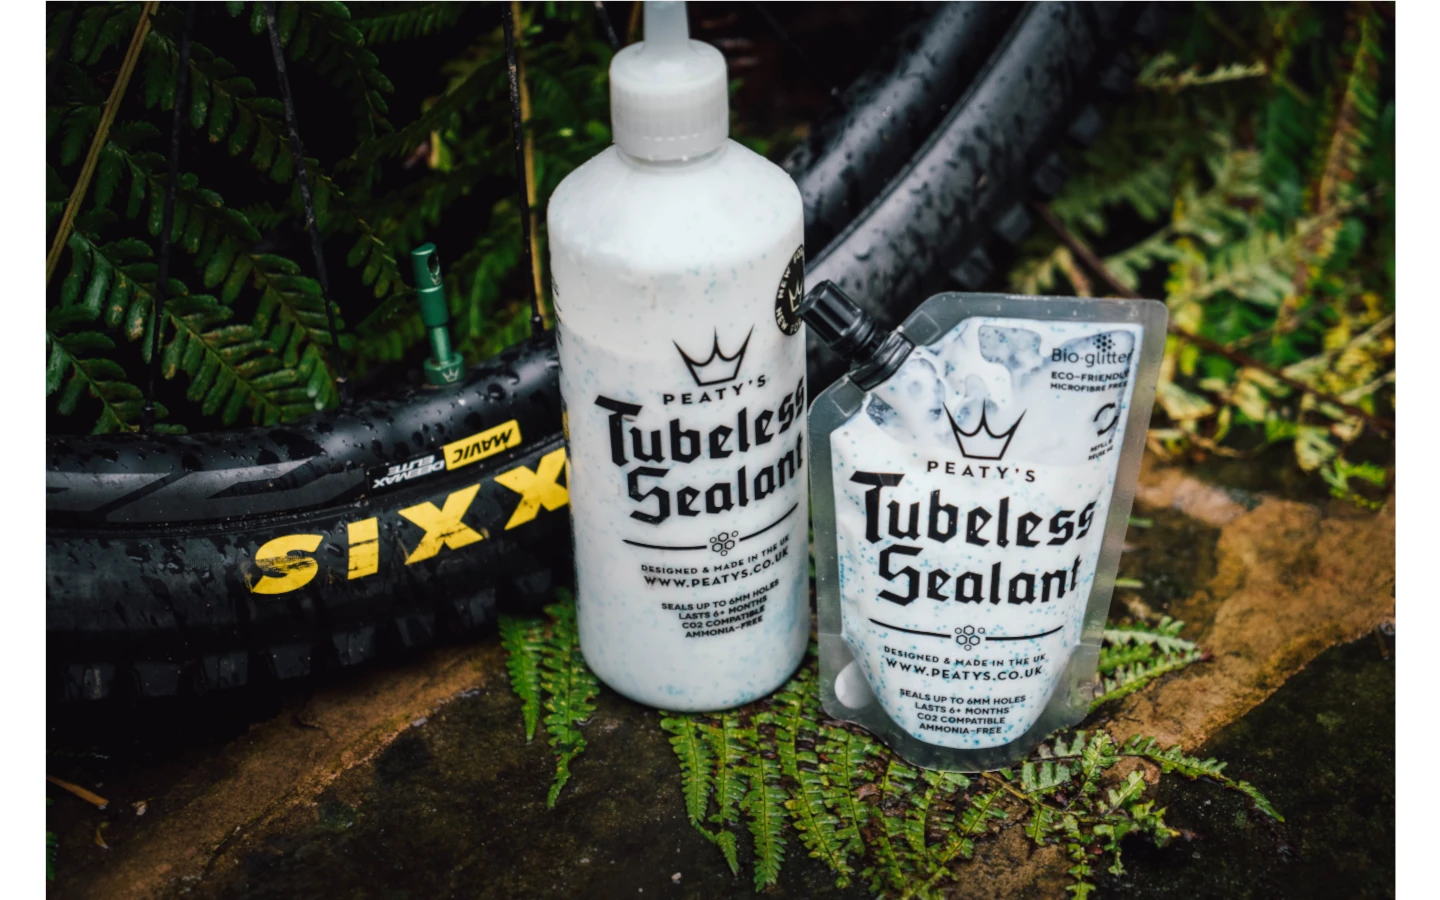
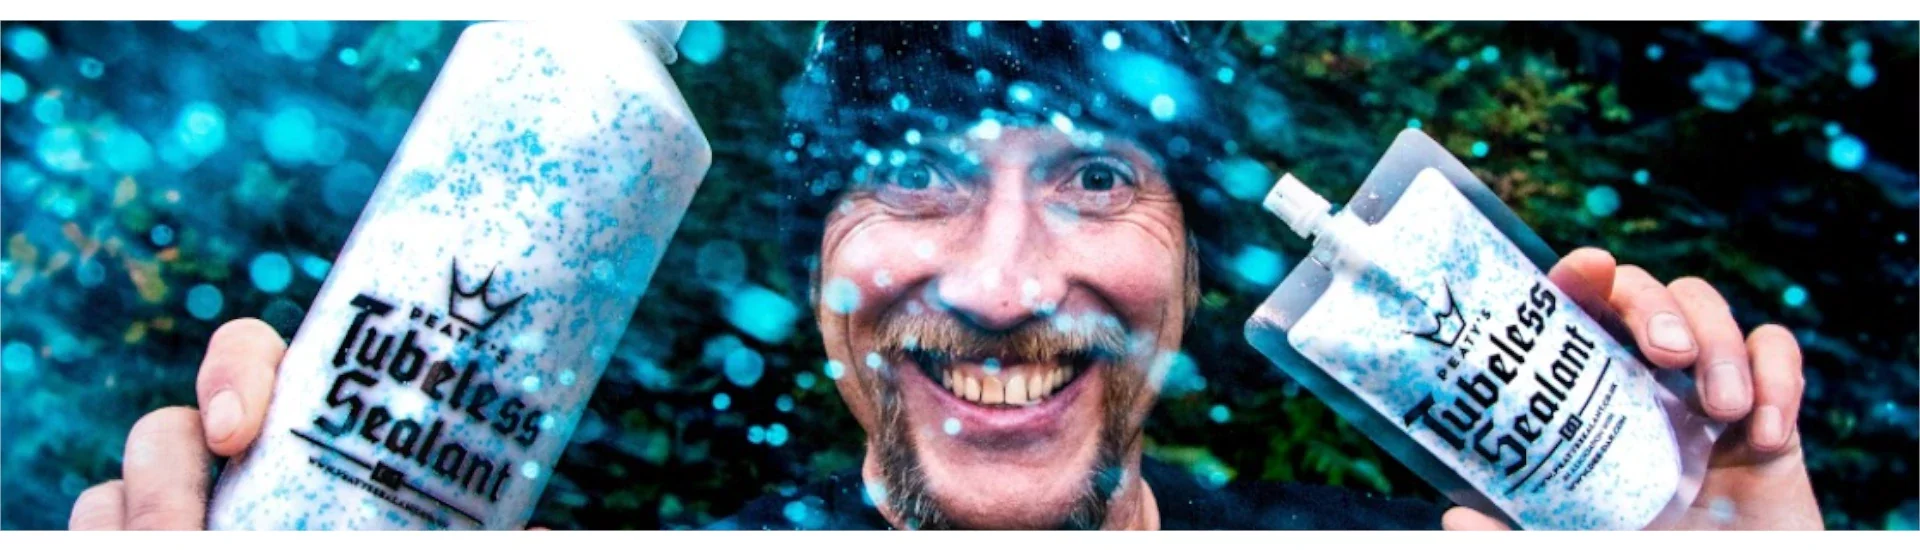
The last piece of the puzzle is sealant. Peaty’s has it on offer, too, and as it becomes in its DNA, his main benefit, except great functionality, is being BIO friendly. This means Peaty’s Biofibre Sealant is biodegradable, and you can buy it in different package sizes. From a 120 ml emergency package, which you can have in the back of your car just in case, to a 500 ml package with enough sealant for the whole family, to a 1 litre package, which is great to have just in case you need it.
The best way to apply the sealant to your rim is by using the syringe through the valve body and removing the valve core. If you are setting up a MTB wheel we recommend about 100 ml of sealant, for gravel we recommend 60 ml of sealant. After you apply the sealant, install the valve core back and put air in your wheel. Add slightly higher pressure than you usually use (about 3 bars) to ensure the tyre fits perfectly into the rim, and spin and shake the wheel to ensure the sealant is distributed on each side of the tyre. Then, modify the pressure to your favourite value, and you are ready to go.
And one last piece of advice – for setting up your tubeless tyres, we recommend using a booster or the compressor, which allows you to fill the tyre with a higher pressure volume for a longer time.